


The Complete Guide to Applying for an Income Certificate Online: Step-by-Step Process, Documents, and FAQs
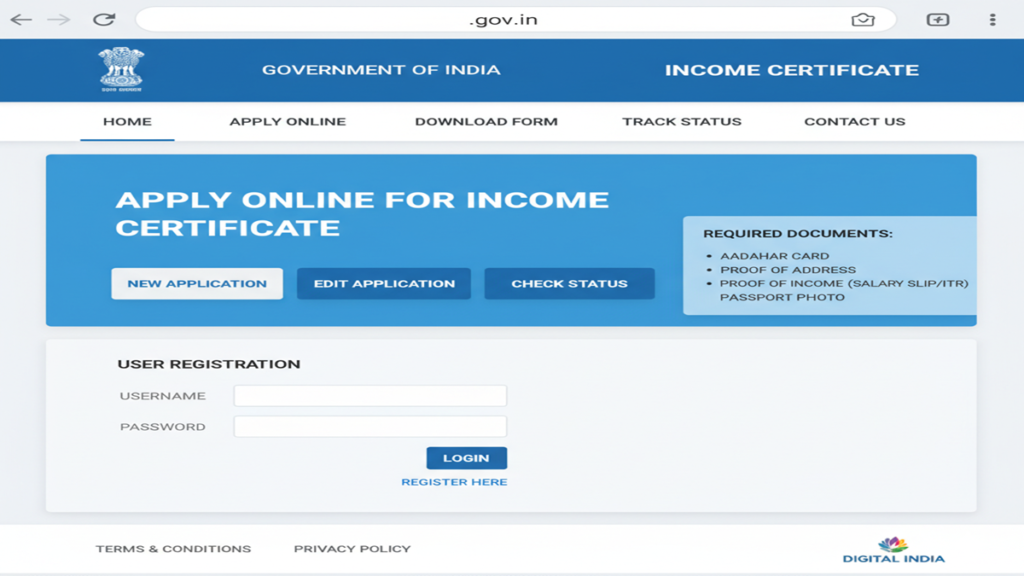
Income Certificate Apply Online Govt Website An Income Certificate is a pivotal legal document issued by the government that verifies the annual income of an individual or a family from all sources. In an era where access to welfare schemes, educational reservations, and financial assistance is often tied to economic status, this certificate serves as a key to unlocking numerous opportunities and benefits. Gone are the days of lengthy queues and opaque processes at government offices.
The digital India initiative has streamlined this process, making it possible to apply for an Income Certificate from the comfort of your home. This comprehensive guide will walk you through every step of the online application process, document preparation, and common pitfalls to avoid.
Understanding the Income Certificate: Significance and Uses
- Educational Purposes: It is mandatory for availing scholarships (state and central), fee concessions, and admissions under economically weaker sections (EWS), Other Backward Classes (OBC) non-creamy layer, and other reserved categories in schools, colleges, and universities.
- Government Welfare Schemes: Essential for applying to schemes like Ayushman Bharat (health insurance), PM Awas Yojana (housing), Ujjwala Yojana (LPG connection), and various state-specific subsidy programs.
- Legal and Financial Proceedings: Often required for court cases related to maintenance, divorce, or for applying for legal aid. It may also be needed for bank loans under priority sector lending.
- Proof of Income: For individuals not in the regular tax bracket (like farmers, daily wage earners, self-employed), it serves as a valid proof of income for various official purposes.
- Tax Exemptions and Benefits: To claim certain tax benefits or to prove eligibility for programs aimed at low and middle-income groups.
The Digital Revolution: National and State Portals
The online application process is primarily facilitated through two types of websites:
- National Portal of India (Services): Offers a centralized directory and links to state-level services.
- State-specific e-District or Revenue Department Portals: This is where the actual application happens. Every state in India has its own dedicated portal for citizen services (e.g., Bengal – banglarbhumi.gov.in, Maharashtra – aaplesarkar.maharashtra.gov.in, Karnataka – seva sindhu.karnataka.gov.in, Tamil Nadu – tnesevai.tn.gov.in, Uttar Pradesh – edistrict.up.gov.in).
Important Note: There is no single, universal “Govt Website” for Income Certificates across all of India. The process is state-specific. This guide provides a universal framework applicable to most states.
Step-by-Step Guide to Applying for an Income Certificate Online
Step 1: Preparation – Gathering Documents and Information
This is the most critical step. Having all documents ready in the correct digital format will save you hours.
A. Mandatory Documents (Typical Requirements):
- Identity Proof: Aadhaar Card (most crucial), Voter ID, PAN Card, or Passport.
- Address Proof: Aadhaar Card, Ration Card, Utility Bill (electricity/water), Passport, or Driving License.
- Proof of Income: This varies based on your profession.
- Salaried Individuals: Salary slips (last 3-6 months), Form 16, Employment Certificate from employer.
- Self-Employed/Professionals: Latest Income Tax Return (ITR) acknowledgement, audited profit & loss statement, Chartered Accountant’s certificate.
- Agriculturists: Land revenue records, affidavit declaring annual farm income.
- Retired Persons: Pension slips, bank statement showing pension credits.
- For Family Income: Affidavit declaring combined family income and income proofs of all earning members.
- Passport-sized Photograph: Digital copy in JPG/JPEG format (usually within specific size limits, e.g., 50KB-200KB).
- Signature: Scanned digital copy in JPG/JPEG format.
B. Information You Will Need:
- Personal details (name, DOB, gender as per Aadhaar).
- Parent’s/Spouse’s name.
- Residential address with PIN code.
- Caste details (if applicable for caste-based income certificates).
- Details of income sources and exact annual figures.
Step 2: Accessing the Correct Website and Initiating Application
- Identify Your State Portal: Search online for “[Your State Name] e-District portal” or “[Your State Name] income certificate online.” Ensure you are on the official government website (look for
.gov.inor.nic.indomains). - Registration/Citizen Login: If you are a first-time user, you will need to register on the portal using your mobile number (linked to Aadhaar) and email ID. Many portals now offer Aadhaar-based One-Time Password (OTP) login for instant access.
- Locate the Service: Once logged in, navigate to the “Apply for Service” or “Services” section. Look for “Income Certificate” under the Revenue or Social Welfare department. Click on it.
Step 3: Filling the Online Application Form
The form will typically have multiple sections. Fill in all details with utmost accuracy.
- Part A: Applicant Details: Auto-filled from your profile or to be entered manually. Cross-check with Aadhaar.
- Part B: Family and Income Details: You will be required to list all family members (as per the state’s definition, usually parents, spouse, and dependent children) and declare the total annual income from all sources for the family or individual, as required.
- Part C: Upload Documents: Carefully upload scanned copies of all prepared documents. Adhere to the specified file format (PDF/JPG) and size limit. Use clear, legible scans.
- Declaration: Read the declaration carefully before digitally submitting the form. You may need to check a box confirming that the information provided is true.
Step 4: Submission and Payment of Fees
- Review: Before final submission, use the preview option to check every field.
- Submit: Click the “Submit” button. You will receive an Application Reference Number (ARN) or acknowledgment slip. Note this number down and take a print/screenshot.
- Fee Payment: In most states, the Income Certificate is issued free of cost for BPL (Below Poverty Line) families. For others, a nominal processing fee (₹20 – ₹100) may be applicable. Pay online via net banking, debit/credit card, or UPI as per the portal’s options.
Step 5: Tracking Application Status and Verification
- Tracking: Use the “Track Application” section on the portal and enter your ARN to see the real-time status (e.g., “Submitted,” “Under Verification,” “Approved,” “Dispatched”).
- Verification Process: After submission, your application is routed to the concerned authority (often the Tahsildar/Block Development Officer of your area). A field verification might be conducted where an official may visit your residence to physically verify the details submitted. Be prepared for this.
- Corrections (If any): If your application is rejected or put on hold due to discrepancies, you will be notified via SMS/portal. You can usually rectify the errors and resubmit within a given timeframe.
Step 6: Downloading the E-Certificate
Once the application is approved by the issuing authority:
- The status will change to “Certificate Ready.”
- You can directly download the digitally signed e-Certificate from the portal using your ARN/login credentials.
- This e-Certificate is legally valid and can be printed on plain paper. Some states also offer the option for physical delivery via post, but the digital download is instantaneous.
Common Challenges and Pro-Tips for a Successful Application
- Incorrect Portal: Applying on a wrong or private portal. Always double-check the URL.
- Document Quality: Blurred photos, incomplete scans. Ensure documents are clear and complete.
- Income Calculation Errors: Under or over-stating income. Calculate carefully. For agricultural income, use realistic estimates of produce and market rates.
- Address Mismatch: The address on your Aadhaar should ideally match your current residential address where verification will happen. Update Aadhaar if necessary.
- Pro-Tip 1: Always use an Aadhaar-linked mobile number for registration to enable seamless authentication.
- Pro-Tip 2: Keep a dedicated file on your computer with all digitally scanned documents in the correct size for quick uploads.
- Pro-Tip 3: Be truthful. False declarations can lead to rejection, blacklisting, and even legal penalties.
Frequently Asked Questions (FAQs)
1. What is the validity period of an Income Certificate?
The validity varies from state to state but is typically one year from the date of issue. For ongoing schemes like scholarships, a certificate for the current financial year is usually required. Always check the specific validity rules of the scheme you are applying for.
2. My application status has been “Under Process” for weeks. What should I do?
The processing time can range from 7 to 30 days, depending on the state and verification queue. If it exceeds the stipulated time (often mentioned on the portal), you can:
- Use the Grievance/Feedback module on the portal.
- Contact the helpdesk number or email provided on the website.
- Visit the office of the concerned Tahsildar or SDM with your application reference number for a follow-up.
3. Can I apply for an Income Certificate from a state different from my permanent address?
No. You must apply in the state and district of your permanent residence or domicile. The verification process is conducted by local revenue officials. If you are living temporarily elsewhere, you should apply through your home state’s portal, and the verification will be conducted at your permanent address.
4. I am a student with no income. How should I declare income?
As a dependent student, you should apply for a Family Income Certificate. Declare the total income of your parents/guardians who support you. Your personal income, if any from part-time work, should also be included. Your certificate will reflect the total family income.
5. What if I make a mistake in the online application after submission?
Once submitted, you generally cannot edit the form yourself. However, if the application is still “Submitted” and not yet “Under Verification,” some portals have an “Edit” option. If not, you may have to wait for the verification stage. If the verifying officer points out an error, you may be allowed to correct it. In case of a major mistake, it might be safer to withdraw the application (if the portal allows) and submit a fresh one with the correct details.
Conclusion: Embracing the Digital Advantage
Applying for an Income Certificate online is a testament to India’s evolving e-governance landscape, designed to be citizen-centric, transparent, and efficient. While the process is state-specific, the underlying steps remain consistent: preparation, accurate form-filling, patient tracking, and digital download. By following this guide, you are equipped to navigate the process confidently, securing this vital document without the traditional hassles. Remember, this certificate is more than just proof of income; it is your key to accessing the rights and benefits designed to foster equity and progress. Start your application today, and unlock the doors to opportunity.